Easy Flat-Knit Hat on Straight Needles (Seamed)
A beginner hat knit back and forth on two straight needles, then sewn up the back. Ribbed brim, stockinette body and a crown shaped row by row with every stitch count given.

Tutorial at a glance
Materials
- Worsted weight (4) wool or wool-blend yarn, about 160 yd (146 m), plus a little extra
- US 6 (4 mm) straight needles for the brim
- US 8 (5 mm) straight needles for the body
- Tapestry needle
- Removable stitch marker or safety pin
- Scissors and tape measure
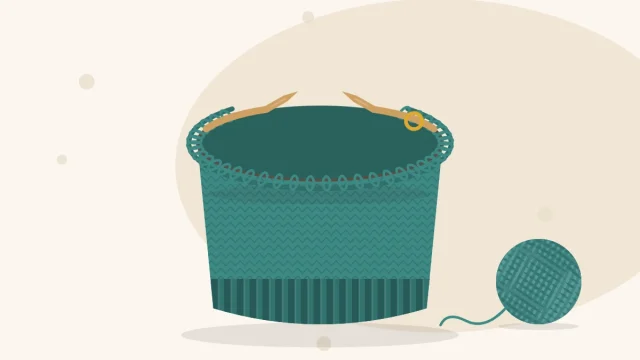
A flat knit hat is worked back and forth on two straight needles as one shaped piece, then sewn up the back. There is no joining in the round and no change of needles at the top, so it suits anyone who has knit a scarf or a dishcloth and wants a first hat. This version has a knit 2, purl 2 ribbed brim, a stockinette body and a crown shaped in eight sections.
What you need
- Yarn: worsted weight (4) wool or wool blend, about 160 yd (146 m). This is an estimate; buy a little extra.
- Needles: US 6 (4 mm) straight needles for the brim and US 8 (5 mm) straight needles for the body, at least 10 in (25 cm) long.
- Notions: tapestry needle, scissors, tape measure, and a removable marker or safety pin to mark the right side.
Gauge and finished size
Gauge: 18 stitches and 24 rows = 4 in (10 cm) in stockinette stitch on US 8 (5 mm) needles. That is 4.5 stitches per inch. Check it with a swatch before starting; the guide to a gauge swatch for hats shows how to measure.
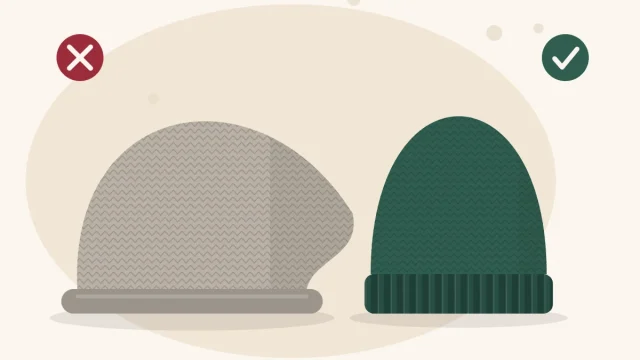
Finished size: about 19.5 in (49.5 cm) around and 8.5 in (21.5 cm) tall. It fits a typical adult medium head of about 21 to 22.5 in (53 to 57 cm) with 1.5 to 3 in (4 to 7.5 cm) of negative ease. Measure the wearer’s head if possible.
The math: 90 stitches are cast on. One stitch at each edge disappears into the seam, leaving 88 stitches around, and 88 ÷ 4.5 = about 19.5 in.
Abbreviations
- CO: cast on
- k: knit
- p: purl
- k2tog: knit 2 stitches together (1 stitch decreased)
- st/sts: stitch/stitches
- RS: right side, the smooth side that faces out when the hat is worn
- WS: wrong side, the bumpy inside
These follow the Craft Yarn Council’s standard knitting abbreviations.
The pattern
Brim
With US 6 (4 mm) needles, CO 90 sts loosely. The first and last stitch of every row are seam stitches.
Row 1 (RS): K1, (k2, p2) 22 times, k1.
Row 2 (WS): P1, (k2, p2) 22 times, p1.
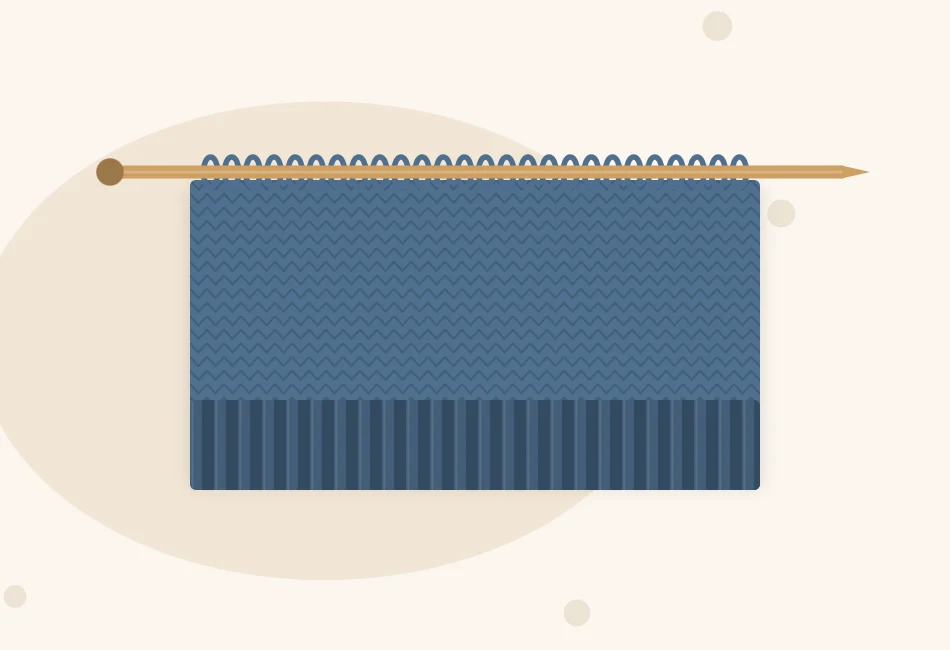
Repeat Rows 1 and 2 until the ribbing measures 1.5 in (4 cm), about 10 rows, ending after a Row 2. Clip the marker to the side facing you on Row 1 so the right side is easy to find later.
Body
Change to US 8 (5 mm) needles by simply knitting the next row onto one of them.
Next row (RS): Knit all 90 sts.
Next row (WS): Purl all 90 sts.
Repeat these two rows until the piece measures 5.25 in (13.5 cm) from the cast-on edge, ending after a purl row.
Crown
The 88 body stitches are divided into 8 sections of 11, with a seam stitch at each end. Decrease on right-side rows only.
- Row 1 (RS): K1, (k9, k2tog) 8 times, k1 — 82 sts.
- Row 2 and every WS row: Purl.
- Row 3: K1, (k8, k2tog) 8 times, k1 — 74 sts.
- Row 5: K1, (k7, k2tog) 8 times, k1 — 66 sts.
- Row 7: K1, (k6, k2tog) 8 times, k1 — 58 sts.
- Row 9: K1, (k5, k2tog) 8 times, k1 — 50 sts.
- Row 11: K1, (k4, k2tog) 8 times, k1 — 42 sts.
- Row 13: K1, (k3, k2tog) 8 times, k1 — 34 sts.
- Row 15: K1, (k2, k2tog) 8 times, k1 — 26 sts.
- Row 17: K1, (k1, k2tog) 8 times, k1 — 18 sts.
- Row 19: K1, (k2tog) 8 times, k1 — 10 sts.
Do not purl back after Row 19. The crown is 19 rows, about 3.25 in (8 cm), which brings the total height to about 8.5 in (21.5 cm).
Tip
Count the stitches after each decrease row while the number is still fresh. If a count is off by one, look for a section where the k2tog was missed; it will have one stitch more than its neighbors.
Finishing
- Close the top. Cut the yarn, leaving a tail of about 24 in (60 cm). Thread it onto the tapestry needle and pass it through the 10 stitches on the knitting needle, from the first stitch to the last, then slide the knitting needle out. Pull firmly to gather the top closed.
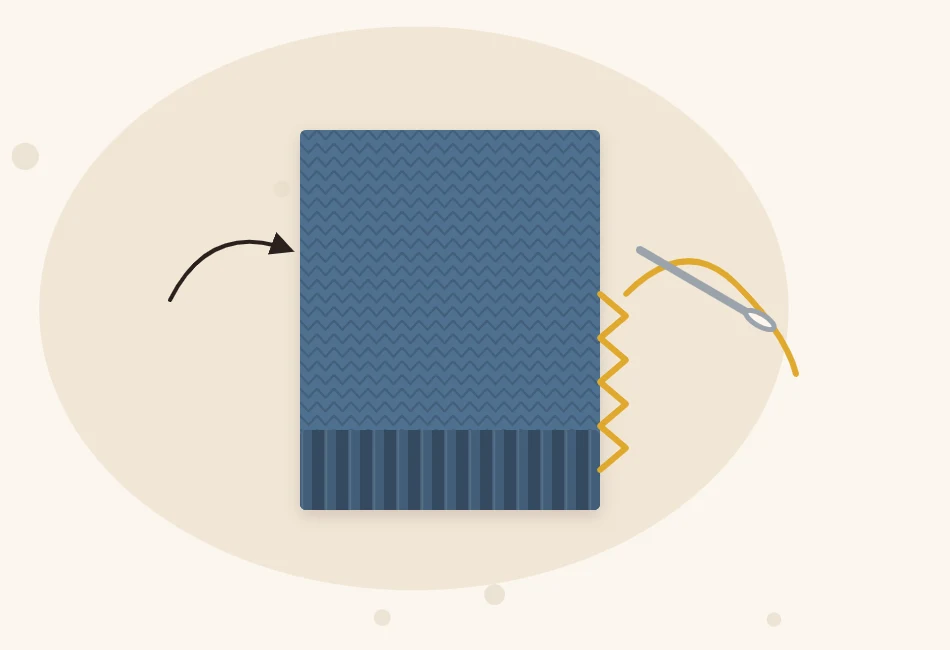
- Sew the seam. Fold the piece in half with the right side facing out and the two side edges meeting. Using the same tail and mattress stitch, work from the crown down to the brim: pick up the horizontal bar between the edge stitch and the next stitch on one side, then the matching bar on the other side, and repeat. Pull the yarn snug every inch or so. The edge stitches roll to the inside, and the ribbing continues unbroken across the seam.
- Weave in the ends. Run each tail through the wrong side for about 2 in (5 cm) and trim.
For more detail on gathering the top, hiding ends and blocking, see how to finish a knit hat.
Watch out
Keep the seam relaxed through the ribbing. A seam pulled too tight at the brim will not stretch with the rest of the hat and can feel like a hard ridge at the back of the head.
Ways to adjust it
Change the size
Add or remove stitches in groups of 8 so the ribbing and the crown sections still work out.
| Size | Cast on | Finished circumference | Start the crown at |
|---|---|---|---|
| Child / adult small | 82 sts | About 17.75 in (45 cm) | Row 3 (sections of 10); count is 74 sts after it |
| Adult medium | 90 sts | About 19.5 in (49.5 cm) | Row 1, as written |
| Adult large | 98 sts | About 21.25 in (54 cm) | An extra first row: K1, (k10, k2tog) 8 times, k1 — 90 sts; purl 1 row, then Row 1 |
For the small size, work the ribbing repeat 20 times instead of 22 and knit the body to 5 in (12.5 cm). For the large size, work the repeat 24 times and knit the body to 5.5 in (14 cm).
Add a folded cuff or a pom-pom
For a cuff that folds up, work the ribbing for 4 in (10 cm) instead of 1.5 in and knit the body until the piece measures 7.25 in (18.5 cm) from the cast-on edge before starting the crown. With the cuff folded up 2 in (5 cm), the hat is still about 8.5 in (21.5 cm) tall. Allow roughly 30 yd (27 m) more yarn. A pom-pom also hides the gathered point nicely; the steps are in how to make a pom-pom for a hat.
Once this hat is finished, the same numbers work without a seam: a first hat on circular needles uses 88 stitches at the same gauge.
Frequently asked questions
Can you really knit a hat on straight needles?
Yes. The hat is knit as one flat piece with the crown shaping worked on right-side rows, then the two side edges are sewn together to form the tube. One extra stitch at each edge is taken up by the seam.
Will the seam show on a flat-knit hat?
A mattress stitch seam worked from the right side is close to invisible in stockinette. On this hat the ribbing is planned so the knit and purl columns continue across the seam, and the seam is worn at the back.
Why does the pattern cast on 90 stitches instead of 88?
The extra 2 stitches are seam stitches, one at each edge. They roll to the inside when the hat is sewn, leaving 88 stitches around, which is about 19.5 inches at 4.5 stitches per inch.