How to Finish a Knit Hat: Close the Top, Weave In Ends, Block
The three finishing jobs every knitted hat needs, in order: gathering the last stitches at the crown, weaving in the ends so they stay put, and blocking.
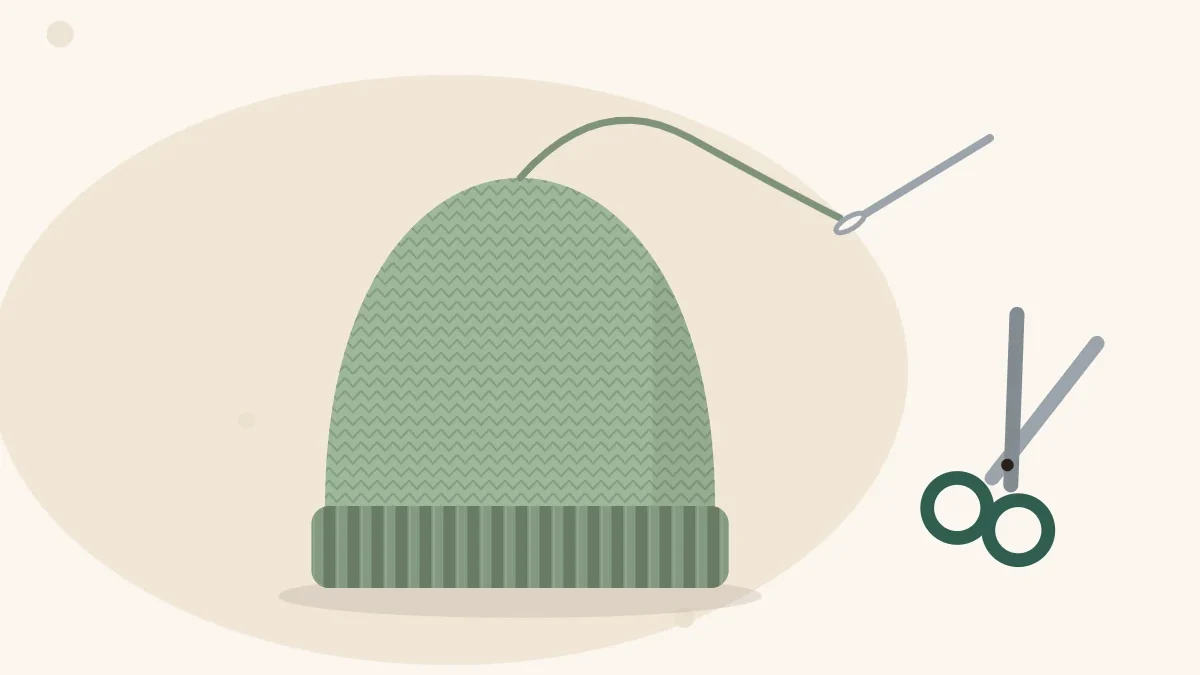
Finishing a knit hat takes three jobs: closing the hole at the top, weaving in the yarn ends, and blocking the fabric so the stitches settle. None of them is difficult, and together they take well under an hour of hands-on time, but they decide whether the hat looks handmade in the good sense. This guide goes through them in the order that makes each one easiest.
The Finishing Order
- Close the top of the crown.
- Sew the seam, if the hat was knitted flat.
- Tidy the cast-on edge and weave in every end.
- Block the hat and let it dry completely.
- Trim the ends, then add a pom-pom if you want one.
You will need a tapestry needle with a blunt tip and an eye large enough for your yarn, a pair of scissors, and for blocking, a basin and a clean towel.
Close the Top
When the crown decreases are complete, a small ring of live stitches is left on the needles, usually 6 to 8 of them. They are not bound off. Instead, the yarn tail gathers them.
- Cut the yarn, leaving a tail of about 8 to 10 in (20 to 25 cm).
- Thread the tail onto the tapestry needle.
- Starting with the stitch that would have been knitted next, pass the needle through each live stitch as if to purl, slipping it off the knitting needle as you go.
- When all the stitches are on the tail, run the needle through the whole ring a second time. Two passes hold much more firmly than one.
- Pull the tail steadily until the hole closes.
- Push the needle down through the center of the closed ring to the inside of the hat.
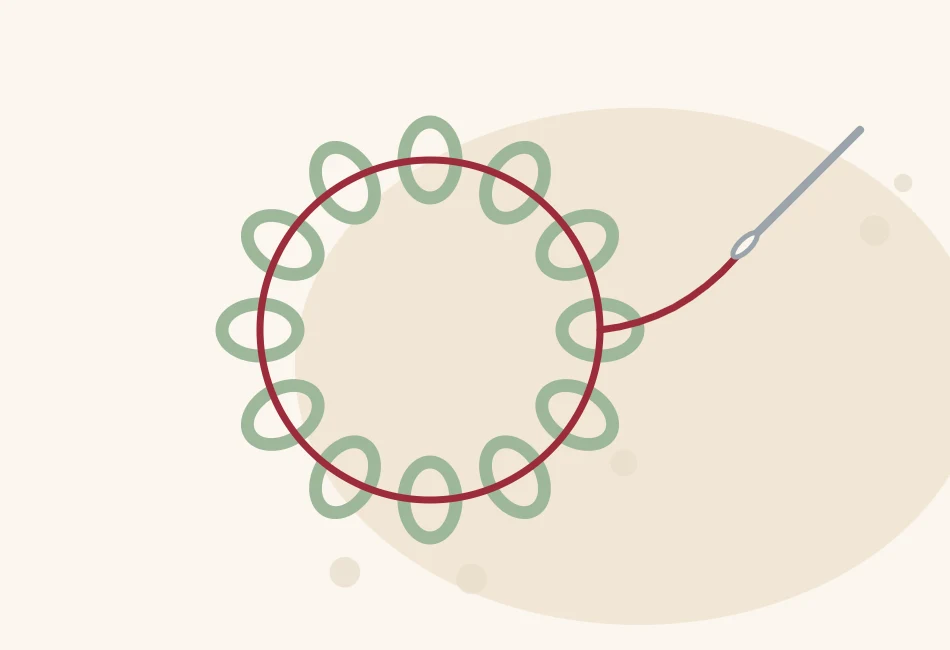
Turn the hat inside out. Take one small stitch through the base of the gathered ring to lock it, then weave the tail in as described below.
Tip
If a hole remains after pulling tight, there were probably too many stitches left for the thickness of the yarn. Thread the tail through the ring a third time, catching the strand between each pair of stitches, and pull again.
Sew the Seam on a Flat-Knit Hat
Hats worked on straight needles, such as the easy flat-knit hat, have a back seam. Sew it after closing the top and before weaving in ends, using mattress stitch with the right side facing you: pick up the horizontal bar one stitch in from the edge on one side, then the matching bar on the other side, and draw the two edges together every inch or so.
Weave In the Ends
A plain hat has two ends, one at the cast-on and one at the crown. Stripes and colorwork add two more each time a color is joined and later cut.
The basic method
- Work on the wrong side, the inside of the hat.
- Thread the end onto the tapestry needle and pass it under the purl bumps along a diagonal line for about 1.5 to 2 in (4 to 5 cm). Go under the bumps only, not through to the front.
- Turn and come back along a second diagonal for a few stitches. The change of direction is what stops the end from working loose.
- Stretch the fabric gently sideways so the woven yarn can relax, then check the right side. Nothing should show.
- Leave about half an inch (1 cm) of tail for now. Trim it after blocking.

Ends that need extra thought
- The cast-on tail. A hat knitted in the round has a small step where the round was joined. Before weaving, pass the tail under the edge stitch on the far side of that step and pull until the edge is level.
- A folded brim. When a cuff is turned up, its inside becomes its outside. Weave the cast-on tail into the side of the ribbing that will be hidden once the cuff is folded.
- Color changes. Weave each end into fabric of its own color, so it cannot show through a lighter stripe.
- Slippery yarn. Smooth cotton and superwash wool hold less readily than ordinary wool. Weave a longer path with two changes of direction, and split the plies of a few stitches with the needle for extra grip.
Watch out
Do not pull a woven end tight. A tight end puckers the fabric and takes away stretch right where a hat needs it, at the brim.
Block the Hat
Blocking means wetting the finished knitting and letting it dry in shape. It evens out wobbly stitches, relaxes the crown so the decrease lines lie flat, and softens many yarns. Always read the yarn label first; the Craft Yarn Council guide to care symbols explains what the icons mean.
Wet blocking, step by step
- Fill a basin with cool to lukewarm water. Add a little wool wash if you like.
- Press the hat under the water and leave it to soak for 15 to 20 minutes. Do not rub or wring it.
- Lift the hat out with both hands, supporting its weight, and squeeze gently.
- Roll it in a towel and press on the roll to remove more water.
- Shape it. Either lay it flat and pat it to its measurements, or set it over something rounded and close to head size, such as an upturned bowl or an inflated balloon.
- Leave it away from direct heat until it is dry all the way through.
Leave the ribbing alone while the hat dries. Stretching a wet brim over a form that is too large can leave it permanently loose.
How fiber changes the routine
| Fiber | What to expect | How to handle it |
|---|---|---|
| Non-superwash wool | Blocks well and holds its shape; can felt with heat and agitation | Cool water, no rubbing, dry flat or on a form |
| Superwash wool | Can grow when wet | Support it fully when lifting; pat it back to size and dry it flat |
| Cotton | Little stretch; heavy when wet | Dry flat so its own weight does not lengthen it |
| Acrylic and blends | Changes little with water | Wash and dry as the label directs; keep hot irons away |
For wool in particular, Woolmark’s wool care advice is a useful reference for washing later on. Fiber choice affects much more than blocking, which is covered in the guide to the best yarn for knitted hats.
Last Touches
Once the hat is dry, snip the woven ends close to the fabric.
A pom-pom goes on last, after blocking, so it stays dry and fluffy. The tutorial on how to make a pom-pom and attach it securely shows a method that lets you remove it for washing. If you are looking for a next project to practice all of this on, the classic knit beanie has a folded brim, an 8-section crown and exactly two ends to weave in.
Frequently asked questions
Do I bind off the stitches at the top of a hat?
No. The last 6 to 8 stitches stay live. Cut the yarn, thread the tail through them twice with a tapestry needle and pull tight to gather the top closed.
How long should the yarn tail be for closing a hat?
About 8 to 10 in (20 to 25 cm) is enough to pass through the stitches twice and weave in. Leave a much longer tail on a flat-knit hat if you plan to sew the seam with it.
Do I have to block a knitted hat?
It is not required, but blocking evens out the stitches and helps the crown lie smoothly. Wool responds most. Acrylic changes little, so washing and drying it according to the label is usually enough.
Should I weave in ends before or after blocking?
Weave them in before blocking but leave a short tail, then trim after the hat is dry. The woven yarn settles into the fabric as it dries and is less likely to work loose.