How to Knit a Hat: A Beginner’s Roadmap
Every knitted hat is a brim, a body and a crown. This roadmap explains the three stages, the flat and in-the-round routes, and the few skills a first hat needs.
A knitted hat is a tube that closes at the top. Once that picture is clear, learning how to knit a hat stops feeling like a mystery and becomes a short list of jobs done in order: make a stretchy edge, knit straight up, then narrow the tube until it shuts. This roadmap walks through those jobs, the choices to make before casting on, and the handful of skills a first hat really needs.
The three parts of every hat
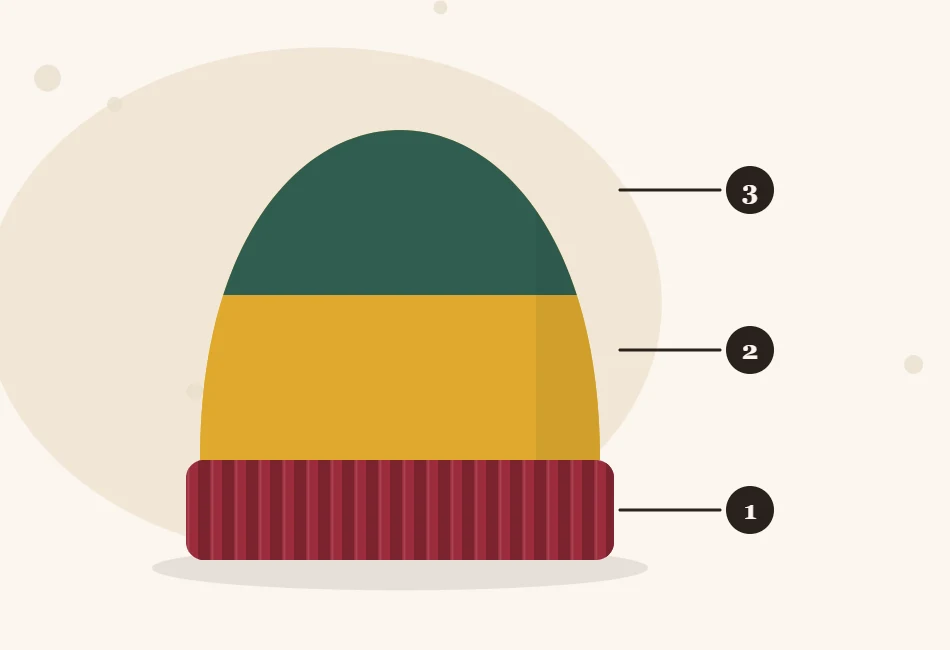
Almost every hat, from a plain beanie to a cabled showpiece, is built from the same three zones, worked from the bottom up.
- The brim. The band that grips the head. It is usually ribbing (knit and purl stitches stacked in columns) because ribbing stretches and springs back. A typical brim is 1.5 to 2 in (4 to 5 cm) deep, or twice that if it will be folded.
- The body. A straight section with no shaping at all. This is where the stitch pattern lives: plain stockinette, stripes, texture. On an adult hat the brim and body together usually measure about 5 to 6 in (13 to 15 cm) before the crown begins.
- The crown. The top, where stitches are removed in evenly spaced decreases until only a few remain. Those last stitches are gathered on the yarn tail and pulled closed.
Choose your route: flat or in the round
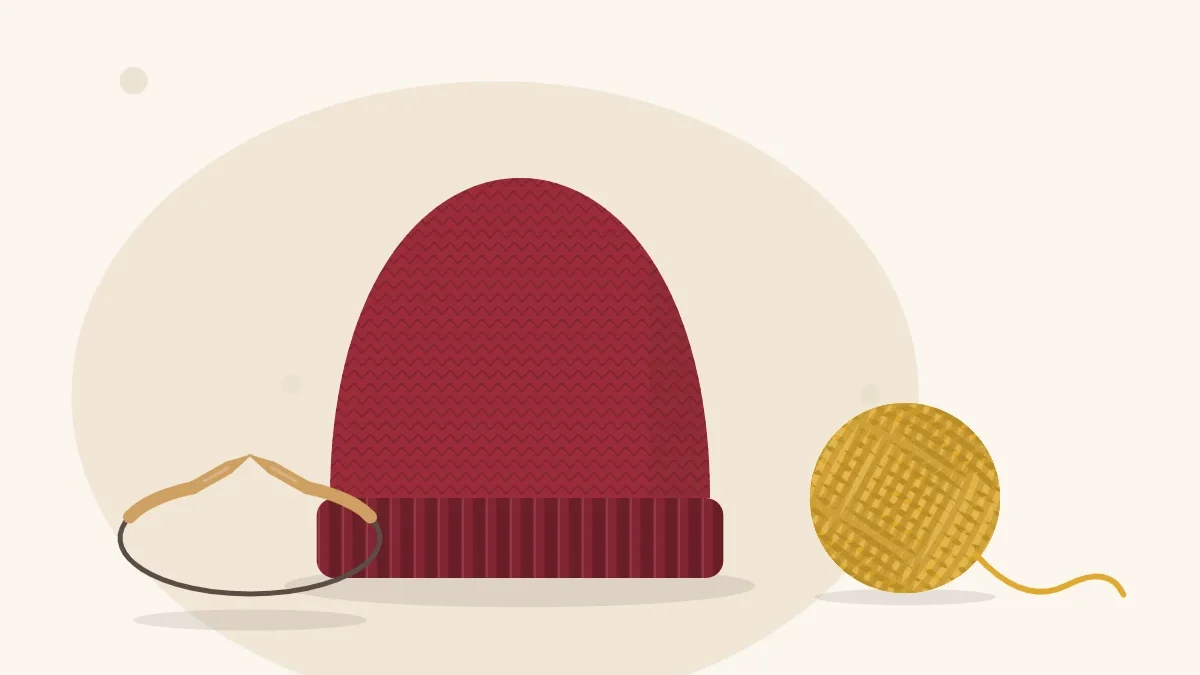
There are two ways to get a tube. Knit it as a tube from the start, or knit a flat piece and sew it into one. Neither is the “real” way; they simply ask for different tools and skills.
| Flat, then seamed | In the round | |
|---|---|---|
| Needles | One pair of straight needles | A 16-inch circular needle, plus double-pointed needles or a long circular for the crown |
| Stitches used | Knit and purl (stockinette needs both when worked flat) | Mostly knit; purl only in the ribbing |
| Finishing | One seam up the back | No seam |
| Tricky moment | Sewing a neat seam | Joining without a twist; changing needles at the crown |
| Good fit for | Knitters who already own straight needles and have made a scarf-shaped project | Knitters who want a seamless hat and are ready to try one new tool |
If straight needles are what is on hand, start with the flat-knit hat on straight needles. If a circular needle sounds appealing, a first hat on circular needles covers the join and the crown step by step.
What to gather before casting on
- Yarn. One ball of smooth, light-colored worsted weight (4) wool or wool blend, roughly 150 to 200 yd (137 to 183 m) for an adult hat. Smooth yarn in a pale shade makes each stitch easy to see. The Craft Yarn Council’s standard yarn weight system explains the numbers printed on yarn labels.
- Needles. For worsted yarn, US 8 (5 mm) for the body. Many patterns use a needle two sizes smaller, US 6 (4 mm), for the brim so the ribbing grips.
- A stitch marker if working in the round, to show where each round begins.
- A tape measure, scissors and a tapestry needle (a blunt needle with a large eye) for measuring, closing the top and hiding yarn ends.
The roadmap, step by step
1. Measure the head
Wrap a tape measure around the widest part of the head: across the forehead, just above the ears and around the back. A typical adult measures somewhere between 21 and 24 in (53 to 61 cm), but ranges are only a starting point, so measure whenever possible. For a gift, the Craft Yarn Council’s head circumference chart gives typical figures by age.
2. Knit a small swatch
Gauge is the number of stitches that fit in 1 in (2.5 cm) of fabric. It depends on the yarn, the needles and the knitter’s hands, so two people following the same pattern can produce different sizes. A quick gauge swatch for hats shows what the fabric will actually measure before a whole hat depends on it.
3. Work out the cast-on number
A hat should be smaller than the head it sits on, so the fabric stretches a little and stays put. This is called negative ease, and 1.5 to 3 in (4 to 7.5 cm) is a comfortable range. Subtract the ease from the head measurement, then multiply by the gauge.
4. Cast on and knit the brim
Cast on loosely enough that the edge stretches as far as the ribbing does. Work the ribbing for the depth the pattern gives.
5. Knit the body
Change to the larger needles and knit straight. This is the relaxing part: no counting, only measuring now and then.
6. Shape the crown
Divide the stitches into equal sections, usually six or eight, and work one decrease in each section on every other round. The sections shrink together and the top rounds over neatly. The guide to shaping the crown shows why this works and how to change the shape.
7. Finish
Cut the yarn, thread the tail through the remaining stitches, pull tight and weave in the ends on the inside.
A worked example
Suppose the head measures 22 in (56 cm) and the swatch shows 18 stitches over 4 in (10 cm), which is 4.5 stitches per inch.
- Hat circumference: 22 in minus 2.5 in of negative ease = 19.5 in (49.5 cm).
- Stitches needed: 19.5 x 4.5 = 87.75.
- Round to a number that suits the pattern: 88. It divides by 4 for knit 2, purl 2 ribbing and by 8 for eight crown sections of 11 stitches each.
That single number, 88, now drives the whole hat. The full method, with other gauges, is in how many stitches to cast on for a hat.
Skills a first hat needs (and ones it does not)
The list is shorter than most beginners expect.
- Needed: casting on, the knit stitch, the purl stitch, and one decrease: knit two together (k2tog), which is exactly what it sounds like.
- Needed for the round version only: joining the cast-on into a ring and moving to double-pointed needles when the crown gets small.
- Needed for the flat version only: sewing one straight seam.
- Not needed yet: cables, colorwork, charts, short rows or any special cast-on. Those can wait for a second or third hat.
Watch out
The most common first-hat disappointment is a hat that turns out too big. It nearly always traces back to skipping the swatch or casting on for the full head measurement with no negative ease.
Frequently asked questions
Is a hat a good first knitting project?
Yes, for a knitter who can already cast on, knit and purl. A plain hat is small, uses one ball of yarn and adds only one or two new skills, such as a simple decrease and either a seam or a join in the round.
Is it easier to knit a hat flat or in the round?
Neither is harder overall. A flat hat uses familiar straight needles but needs a seam and purl rows. A hat in the round has no seam and is mostly knit stitch, but it needs a circular needle and a second tool for the small crown rounds.
How many stitches do I cast on for an adult hat?
It depends on gauge. Subtract about 1.5 to 3 inches from the head measurement, multiply by the stitches per inch from a swatch, and round to a number the pattern can divide. At 4.5 stitches per inch, a 22-inch head works out to 88 stitches.
What yarn should a beginner use for a hat?
A smooth, light-colored worsted weight (4) wool or wool blend is a comfortable choice. The stitches are easy to see, the fabric is elastic and the needles are a manageable size.