Easy Knitted Hats
Your First Hat on Circular Needles
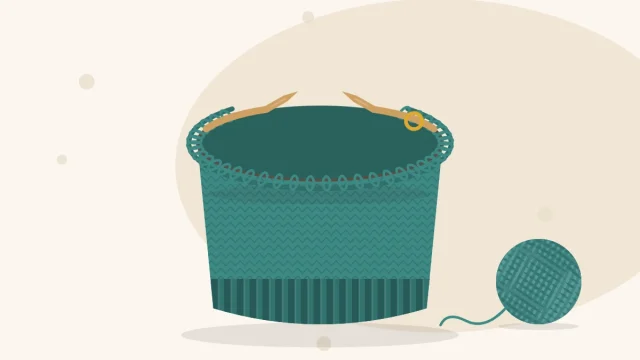
A seamless first hat in three sizes, knit in the round in worsted yarn. Markers handle the crown shaping and a table gives the stitch count after every decrease round.
Knitted hat patterns and guides for beginners
30 tutorials published
A seamless first hat in three sizes, knit in the round in worsted yarn. Markers handle the crown shaping and a table gives the stitch count after every decrease round.
A beginner hat knit back and forth on two straight needles, then sewn up the back. Ribbed brim, stockinette body and a crown shaped row by row with every stitch count given.
A hat made from one flat rectangle of knit stitches, seamed up the side and gathered at the top. Three sizes, no purling and no circular needles.
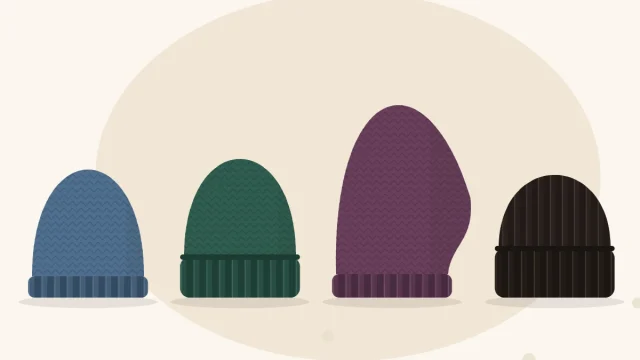
Fitted, cuffed, slouchy and watch cap beanies share one structure and differ mainly in height and brim depth. Here is what defines each style and how to choose between them.
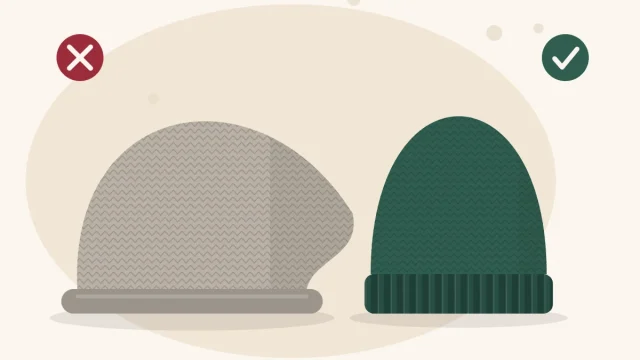
Hats that turn out too big, twisted joins, tight cast-ons and lumpy crowns all have simple causes. Here are ten common hat-knitting mistakes and a practical fix for each.
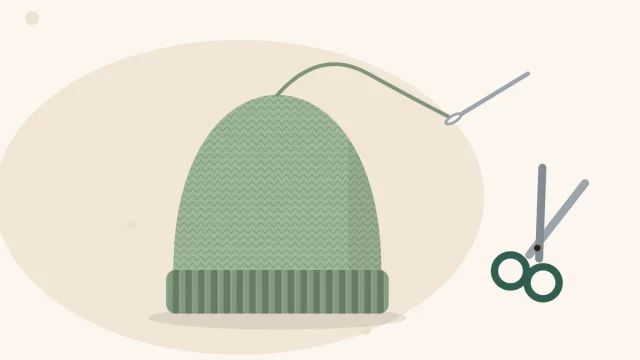
The three finishing jobs every knitted hat needs, in order: gathering the last stitches at the crown, weaving in the ends so they stay put, and blocking.
How hat crown decreases work: dividing the stitches into sections, choosing k2tog or ssk, and deciding how often to decrease for a rounded top.
Four brim styles cover nearly every hand-knitted hat. Here is how ribbed, folded, rolled and garter brims are made, how each one fits and when to choose it.
How 1x1, 2x2 and twisted rib differ on a hat brim, which needle size to use, how deep to knit the band and how to fix a brim that flares.
Stockinette, garter, ribbing and seed stitch all use only knits and purls, but each makes a different hat fabric. Here is how they stretch, curl and fit.
A plain-language walk through a hat knitting pattern: the information block, sizes in parentheses, abbreviations, repeats, stitch counts and charts.
How to join cast-on stitches into a ring for a hat, check that the edge is not twisted, and tidy the small gap the join leaves behind.